Before and After Feedback from Lighting Artist Peers and Teachers:
Before
After
What changed: an additional light was added to provide another area of interest for the viewer to focus on and guide their eye to the billboard. The materials of the set were adjusted to be two-sided and the outside directional light streams from the window only, rather than the light seeping in from the transparent plane above.
Before
After
What changed: an additional light was added to highlight the silhouette of the lamp and separate it from the background. The materials of the set were adjusted to be two-sided and the outside directional light streams from the window only, rather than the light seeping in from the transparent plane above. The shot was captured from a CineCamera Actor and depth of field was adjusted to highlight the objects on the top of the desk and separate the objects from the background further.
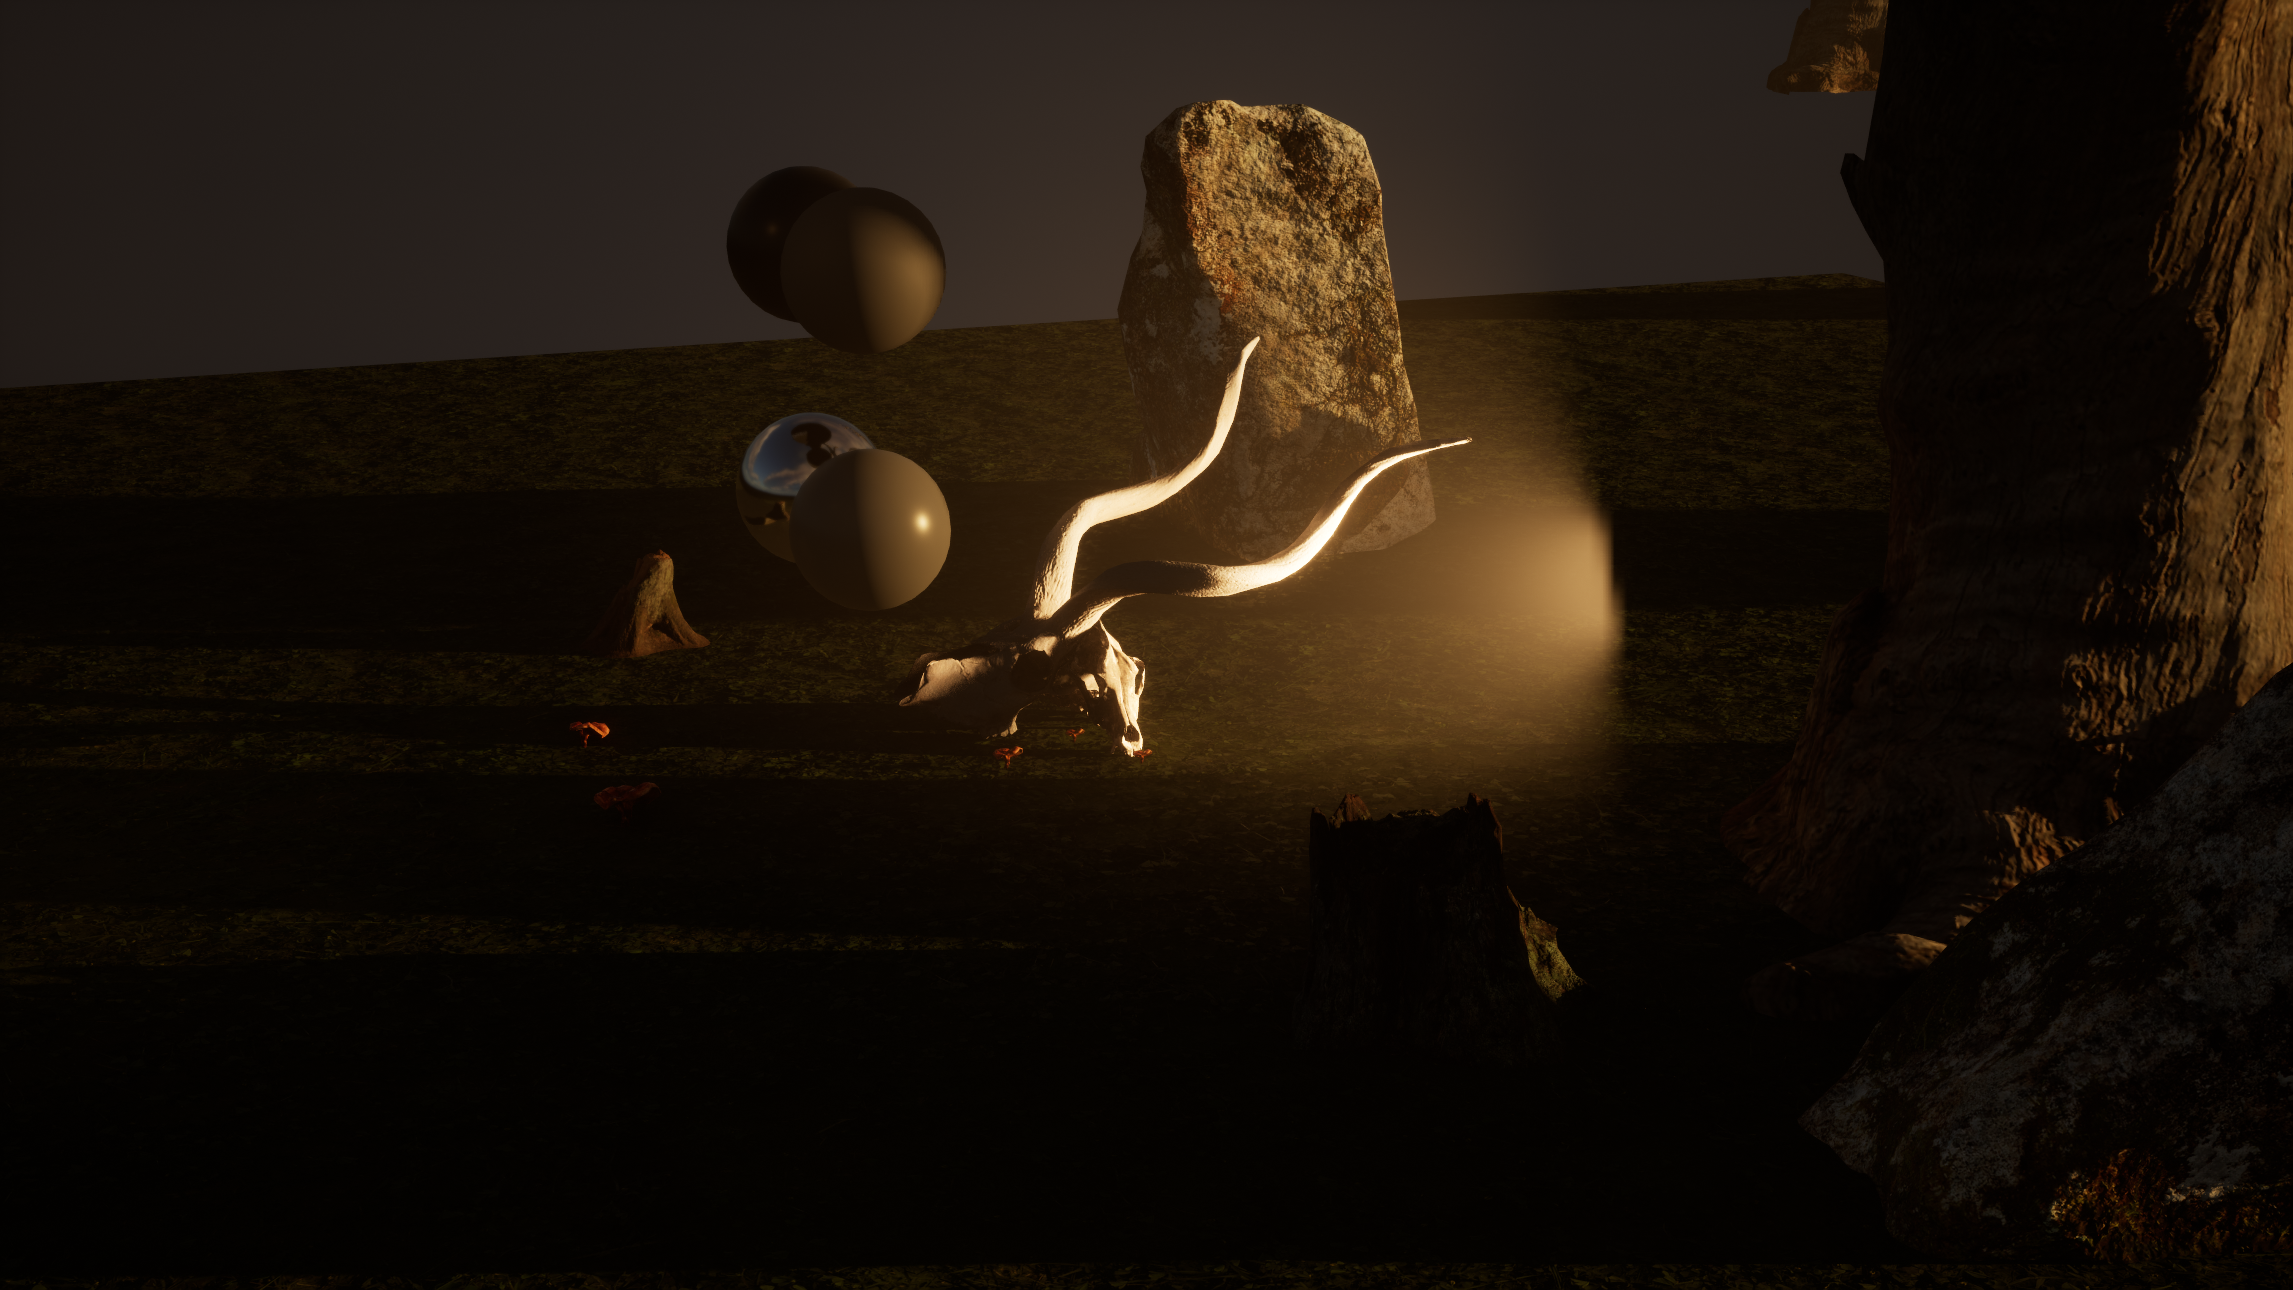
I used this workshop to focus on creating dramatic outdoor shadows with environment fog and directional lights. Lighting set up in Unreal Engine using HDRI backdrop, simulated atmosphere, and a 3 point light set up.
Models from Quixels Megascans
How I achieved the in-camera sun glow effect with a rectangle light and directional fog.
3 Point Lighting Set Up Created in Unreal Engine as part of a lighting exercise. The Lights were created first in White Light only, then separated by color assignments: Red for Key Light, Green for Fill Light, and Blue for Rim Light.
3 Point Lighting Set Up for Le Transi De Rene De Chalon
Model provided by threedscans
A separate 3 Point Lighting set up was created for the second model, which was lit with the same method as the first; a key, fill, and rim light in white and then in color. Again, Red for Key Light, Green for Fill, and Blue for Rim Light.
This reel compiles all the best animation work from my first semester at FIEA, which includes some walk cycle practice (both biped and quadruped) and my first attempts at creating animation state machines in unity and unreal.
Week 5 of this project ended up being thanksgiving break, so the blog posts go straight to the final week of updates, starting with our Interactive Character animation.
The final model came in; since the model's dimensions had shifted some, the rig was adjusted to compensate, meaning the animation clips were bent slightly out of proportion in the original maya file shown above.
Luckily, this was easily remedied using Unreal's IK retargeting system, most of which was done by our tech artist Cal. With a couple of tweaks on the IK solvers and joint offsets in the new animation files, the new model was able to run on the original animation clips and the longer extended fingers no longer clip into the legs.
Updated Animation Blueprint with new Preview Mesh
Pls Mute This Audio I didn't realize it was recording me
IK Retargeting Solver with source and target meshes
With the animation officially complete and working in engine, I was free to make some polishing edits and assist the others with their final touch- ups, which included some texture/material troubleshooting, perforce being picky with source files, and final lighting/shadow adjustments. Mostly, I was responsible for timing the background music of the level and adding sound effects to the demogorgon when specific animations are triggered.
Simulation of VR Environment in Engine
Pls Also Mute This Audio I didn't realize it was recording me
Overall, I think we really excelled as a team this week and our project turned out incredible. Despite all the high learning curves and setbacks this was a very rewarding experience, and I can't wait to show it off to everyone tomorrow.
Shoutout to the rest of my excellent team for all your hard work!
3D Eleven Hands and Demogorgon Models + Textures: Tristan Spear
3D Environmental Assets + Textures, Lighting, Nav Mesh Assistance: Haley Kroppman